You can create log sources using a list of templates that comes with predefined settings and configurations to fetch logs from different sources using Universal REST API Fetcher or Syslog Collector.
DuoSecurityFetcher
Trellix
Sophos
Okta
CiscoAMP
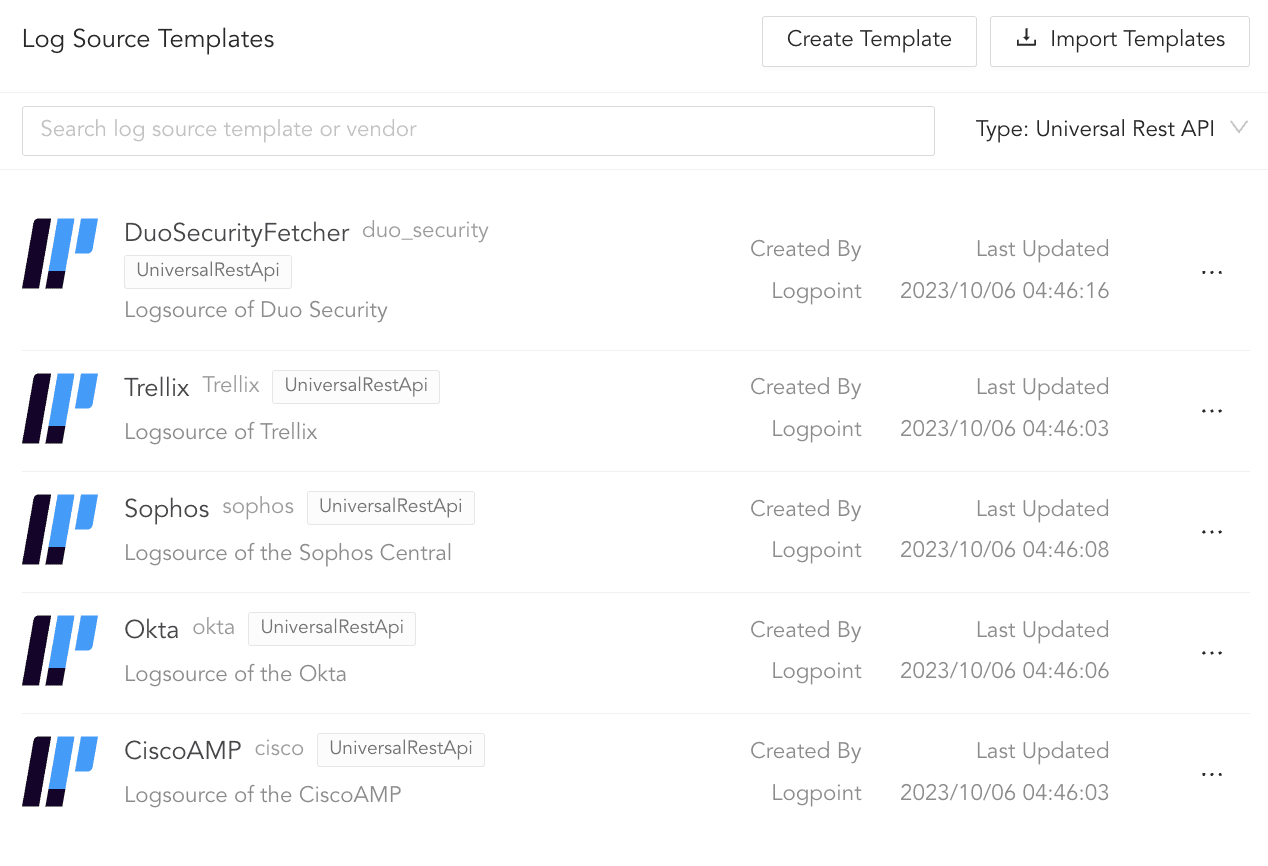
Universal REST API Fetcher-based Templates
For DuoSecurityFetcher and Trellix, go to their guides.
To configure Sophos, Okta, and CiscoAMP:
Go to
Settings >> Log Sourcesfrom the navigation bar and click Browse Log Source Templates.Click the log source template. All the fields are pre-configured; change the configuration only if needed.
Click Create Log Source.
A10 Networks
ActivTrak
Apache
Aruba
Barracuda
BitDefender
BlueCoat
Broadcom CA
CarbonBlack
CAS Server
Centrify
Check Point
Cisco
CiscoEmail
CrowdStrike
CyberArk
Cyberlytic
Cylance
Darktrace
Dell
DenyAll
ESET
Exim
EximEmail
F5
Forcepoint
Forescout
Fortigate
FSecure
IBM AIX
IIS
InfoBlox
Juniper
Kaspersky
Linux
Microsoft Exchange Server
Microsoft SQL Server
Mod Security
Netscaler
Nginx
Oracle
PaloAlto
PfSense Firewall
Proofpoint
Sophos General
StoneSoft
StormShield
Suricata
Trellix McAfee
Trend Micro
TrustWave
Varonis
Vectra
Veritas
VMWare
Wallix
WatchGuard
Web Analytics
Windows
Zeek
Zscaler
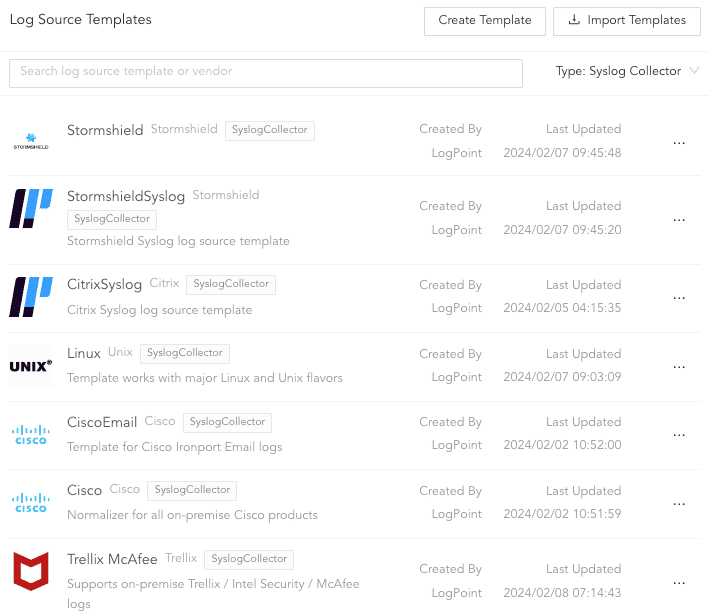
Syslog Collector based Templates
For Syslog Collector based templates, you can create a log source by entering device addresses and adding a repo, while other information is optional to add. If you want to configure additional information, go to Syslog Collector.
To create:
Go to Settings >> Log Sources from the navigation bar and click Browse Log Source Templates.
Click the log source template for an integration.
Enter the Device Addresses.
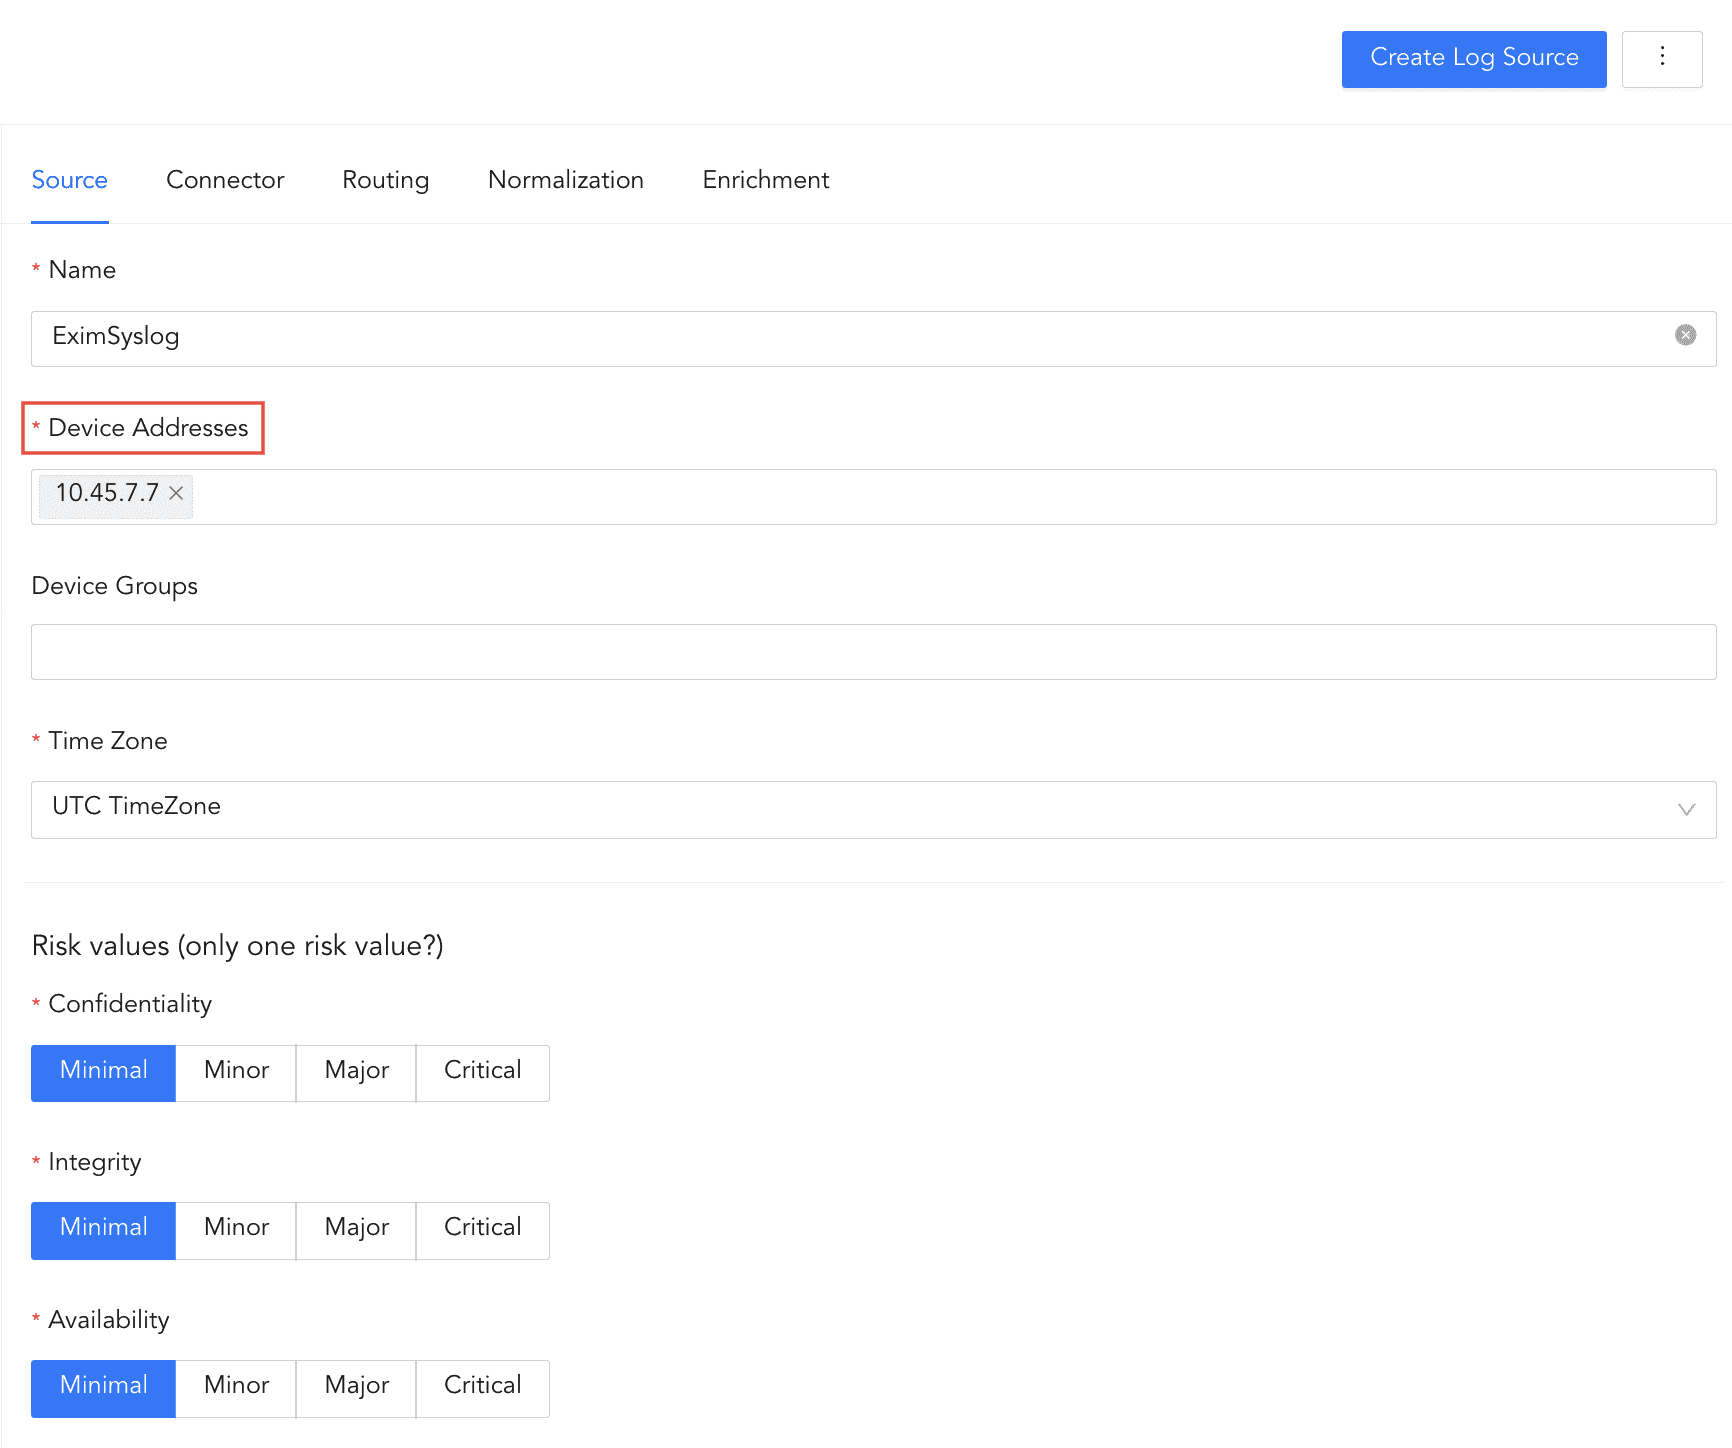
Entering Device Addresses
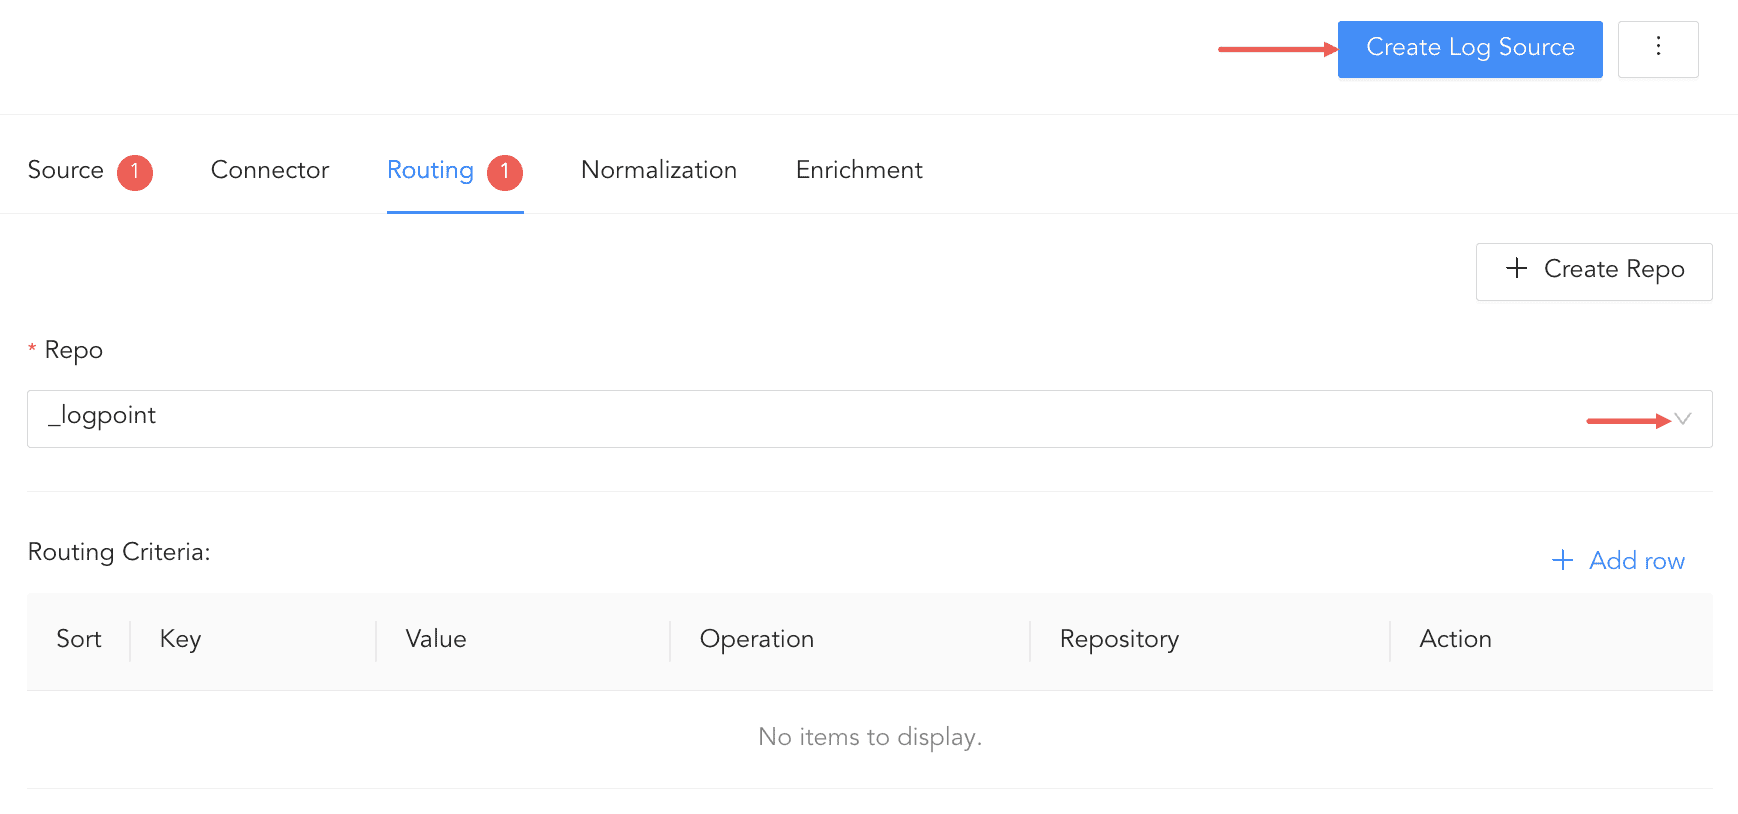
Click Routing.
Select Repo from drop-down. You can also create a repo. To learn how to create, go to create repo.
Click Create Log Source to save the configuration.
Adding a Repo
You can create new templates from previously created log sources and export them. These templates can later be imported into Log Source and used to configure the same or different source.
To create a new template:
Go to Settings >> Log Sources from the navigation bar.
Click the previously created log source.
Click the more ( ) icon and click Configure Template.
Configure the template and click Save as Template.
To find the created template, go to Settings >> Log Sources and click Browse Log Source Templates.
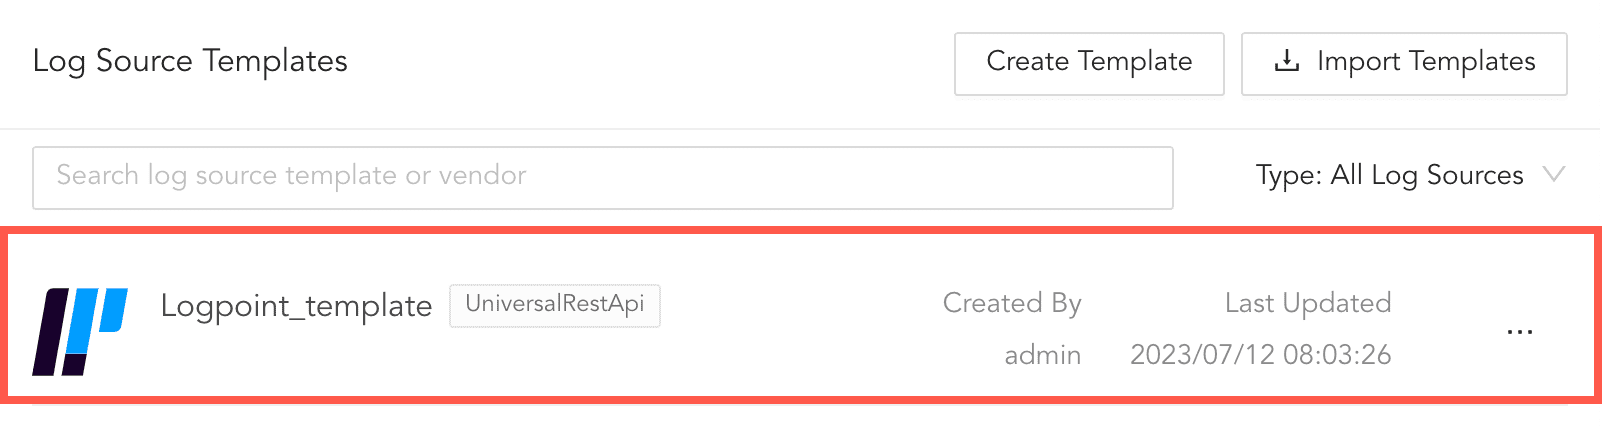
Accessing Templates
To use the created template as a log source, click the template and click Save Configuration. The template is now saved as a log source. However, Logpoint must have the normalizers and repos used in the template. If the repos are not there, you must either create repos with the same names or select different ones. For normalizers, you can either install the normalizer or deselect them.
Note
If Logpoint does not have the signature-based normalization package used in the imported template, Log source automatically installs it.
To update Log Source template configuration:
Go to Settings >> Log Sources from the navigation bar.
Click Browse Log Source Templates.
Click the more ( ) icon for the Log Source Template
Click Edit Template.
Make the necessary changes and click Save Template.
5.1. To save the changes in a new template, enter a new name for the template and click Clone and Save as New Template.
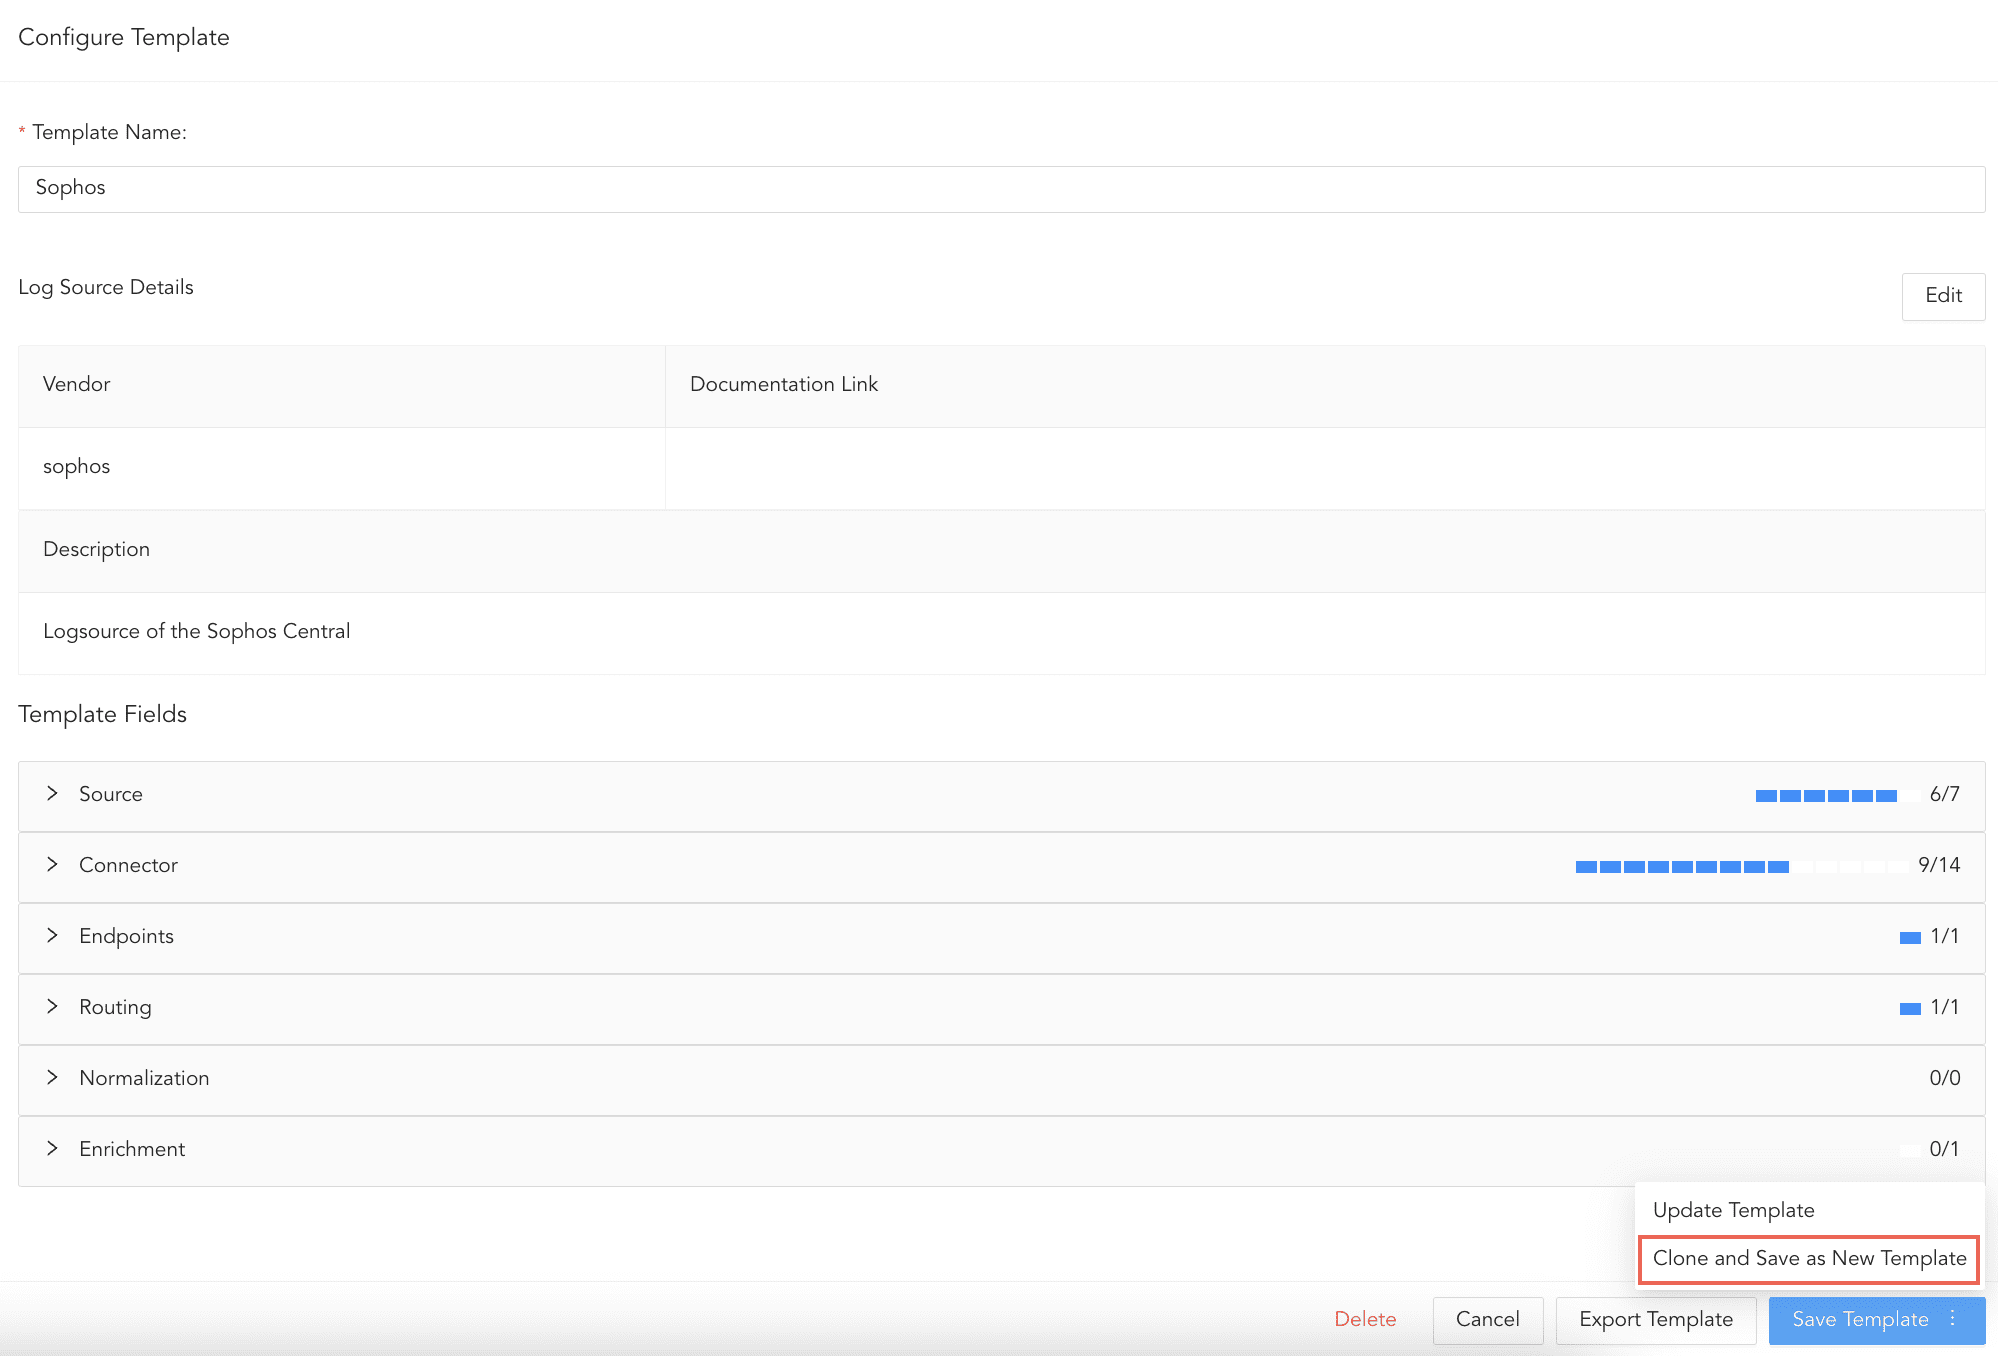
Cloning Templates
5.2. To save the changes in the same template, click Update Template.
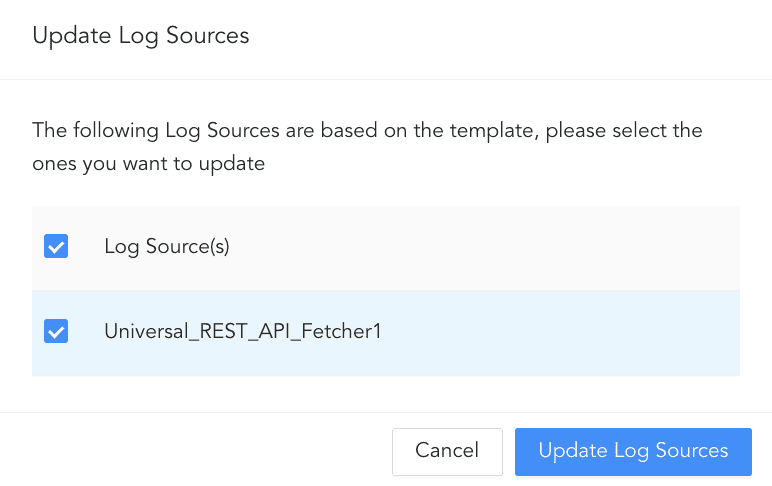
You can also update the log sources configurations that are created using this template. Select the log sources to update and click Update Log Sources.
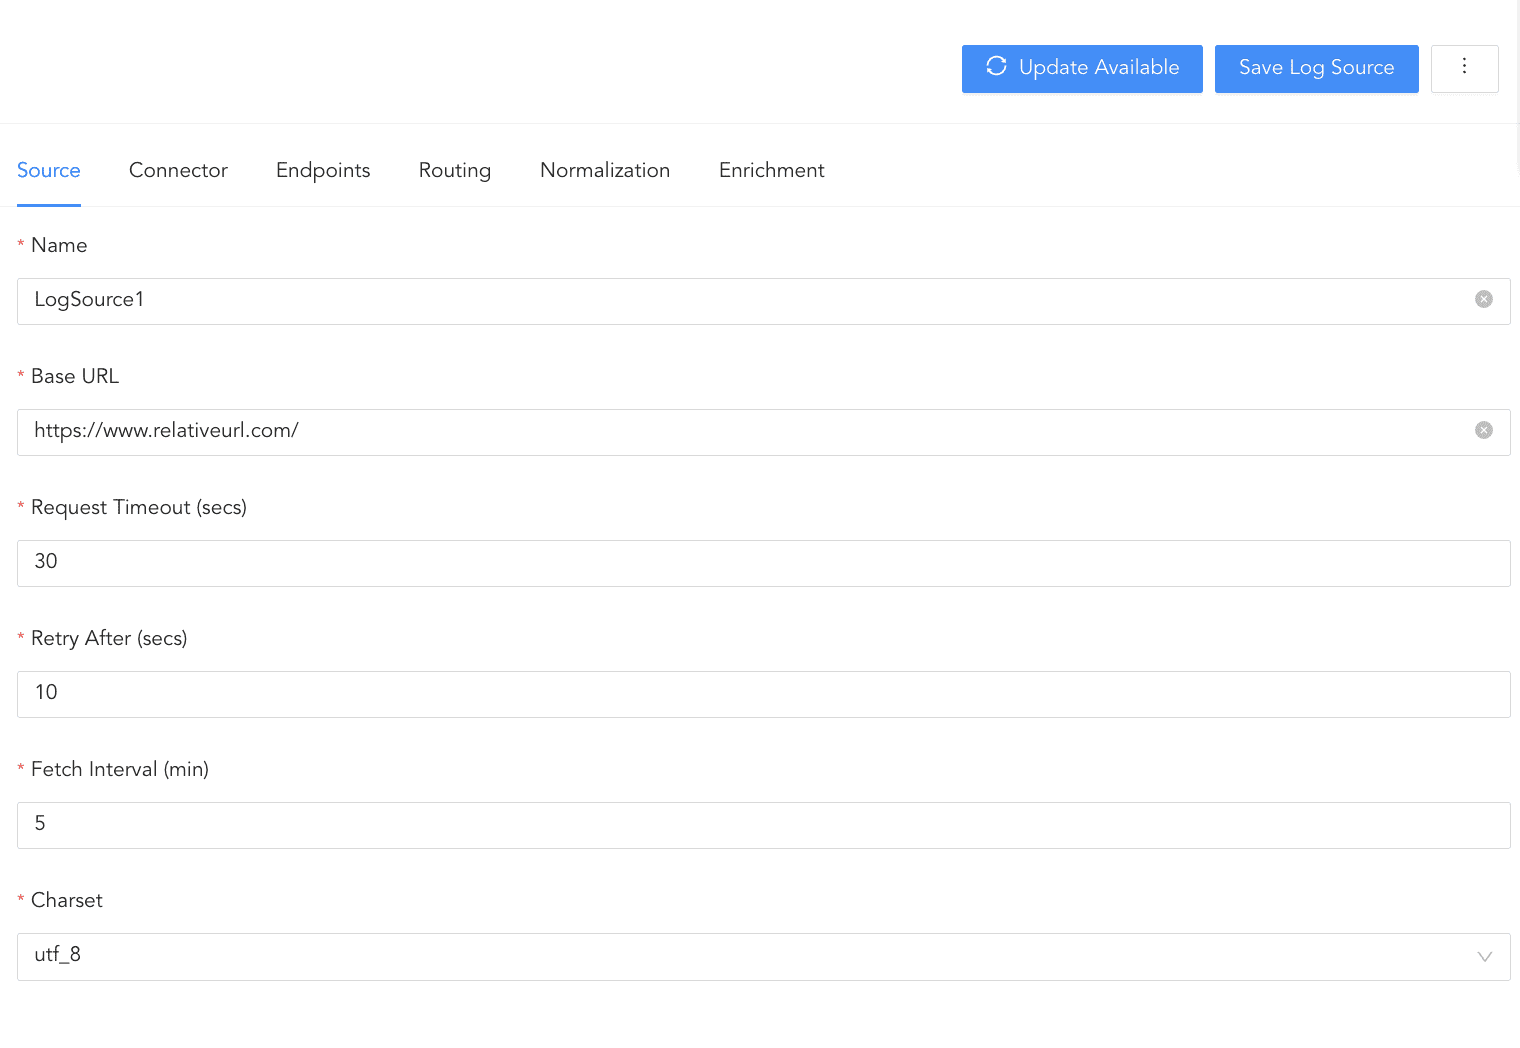
For Universal REST API, the following entities are updated:
Fetch Interval (min)
Request Timeout (secs)
Retry After (secs)
Charset
Custom Headers
Enforce HTTPS Certificate Verification
Normalizer
Logo
Description
Vendor Name
For Syslog Collector, the following entities are updated:
Parser
Confidentiality
Integrity
Availability
Normalizer
Logo
Description
Vendor Name
Normalization
Updating Log Sources
If a normalizer is outdated, it is dimmed in the list. You need to download the latest version.
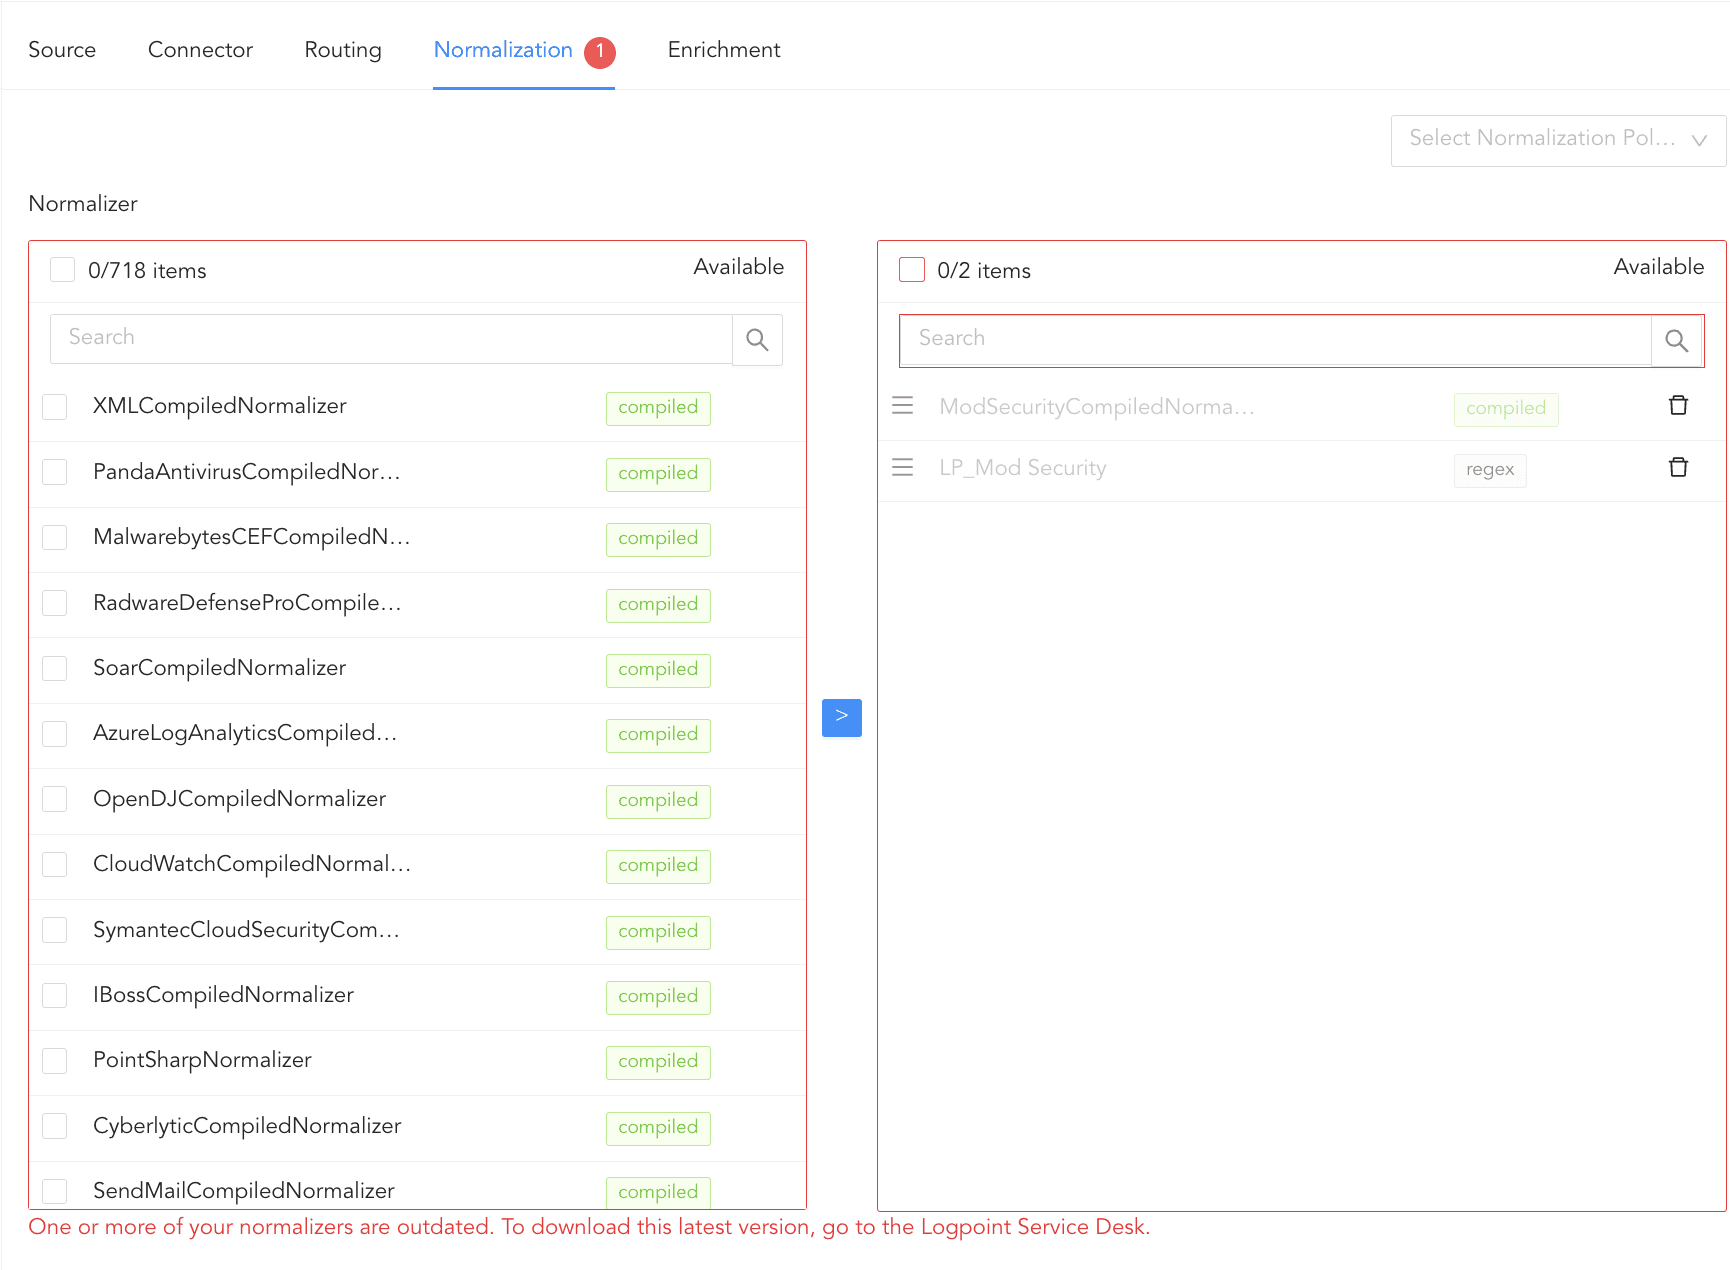
Outdated Normalizers
To download the latest version:
Go to the Service Desk. Browse to or search for the normalizer by name. Download it directly from the Service Desk.
Go to
Settings >> System Settingsfrom the navigation bar and click Applications.Click Import.
Browse to the downloaded .pak file and click Upload.
To update Log Source template:
During export, all custom normalization packages in the template are exported. For vendor normalization packages, only their metadata (name, version and vid) is exported.
You must first configure Log Source and save it as a template to export it.
To export a Log Source template:
Go to Settings >> Log Sources from the navigation bar and click Browse Log Source Templates.
Click the more () icon and click Edit Template.
Click the more () icon and click Configure Template.
Click Export Template.
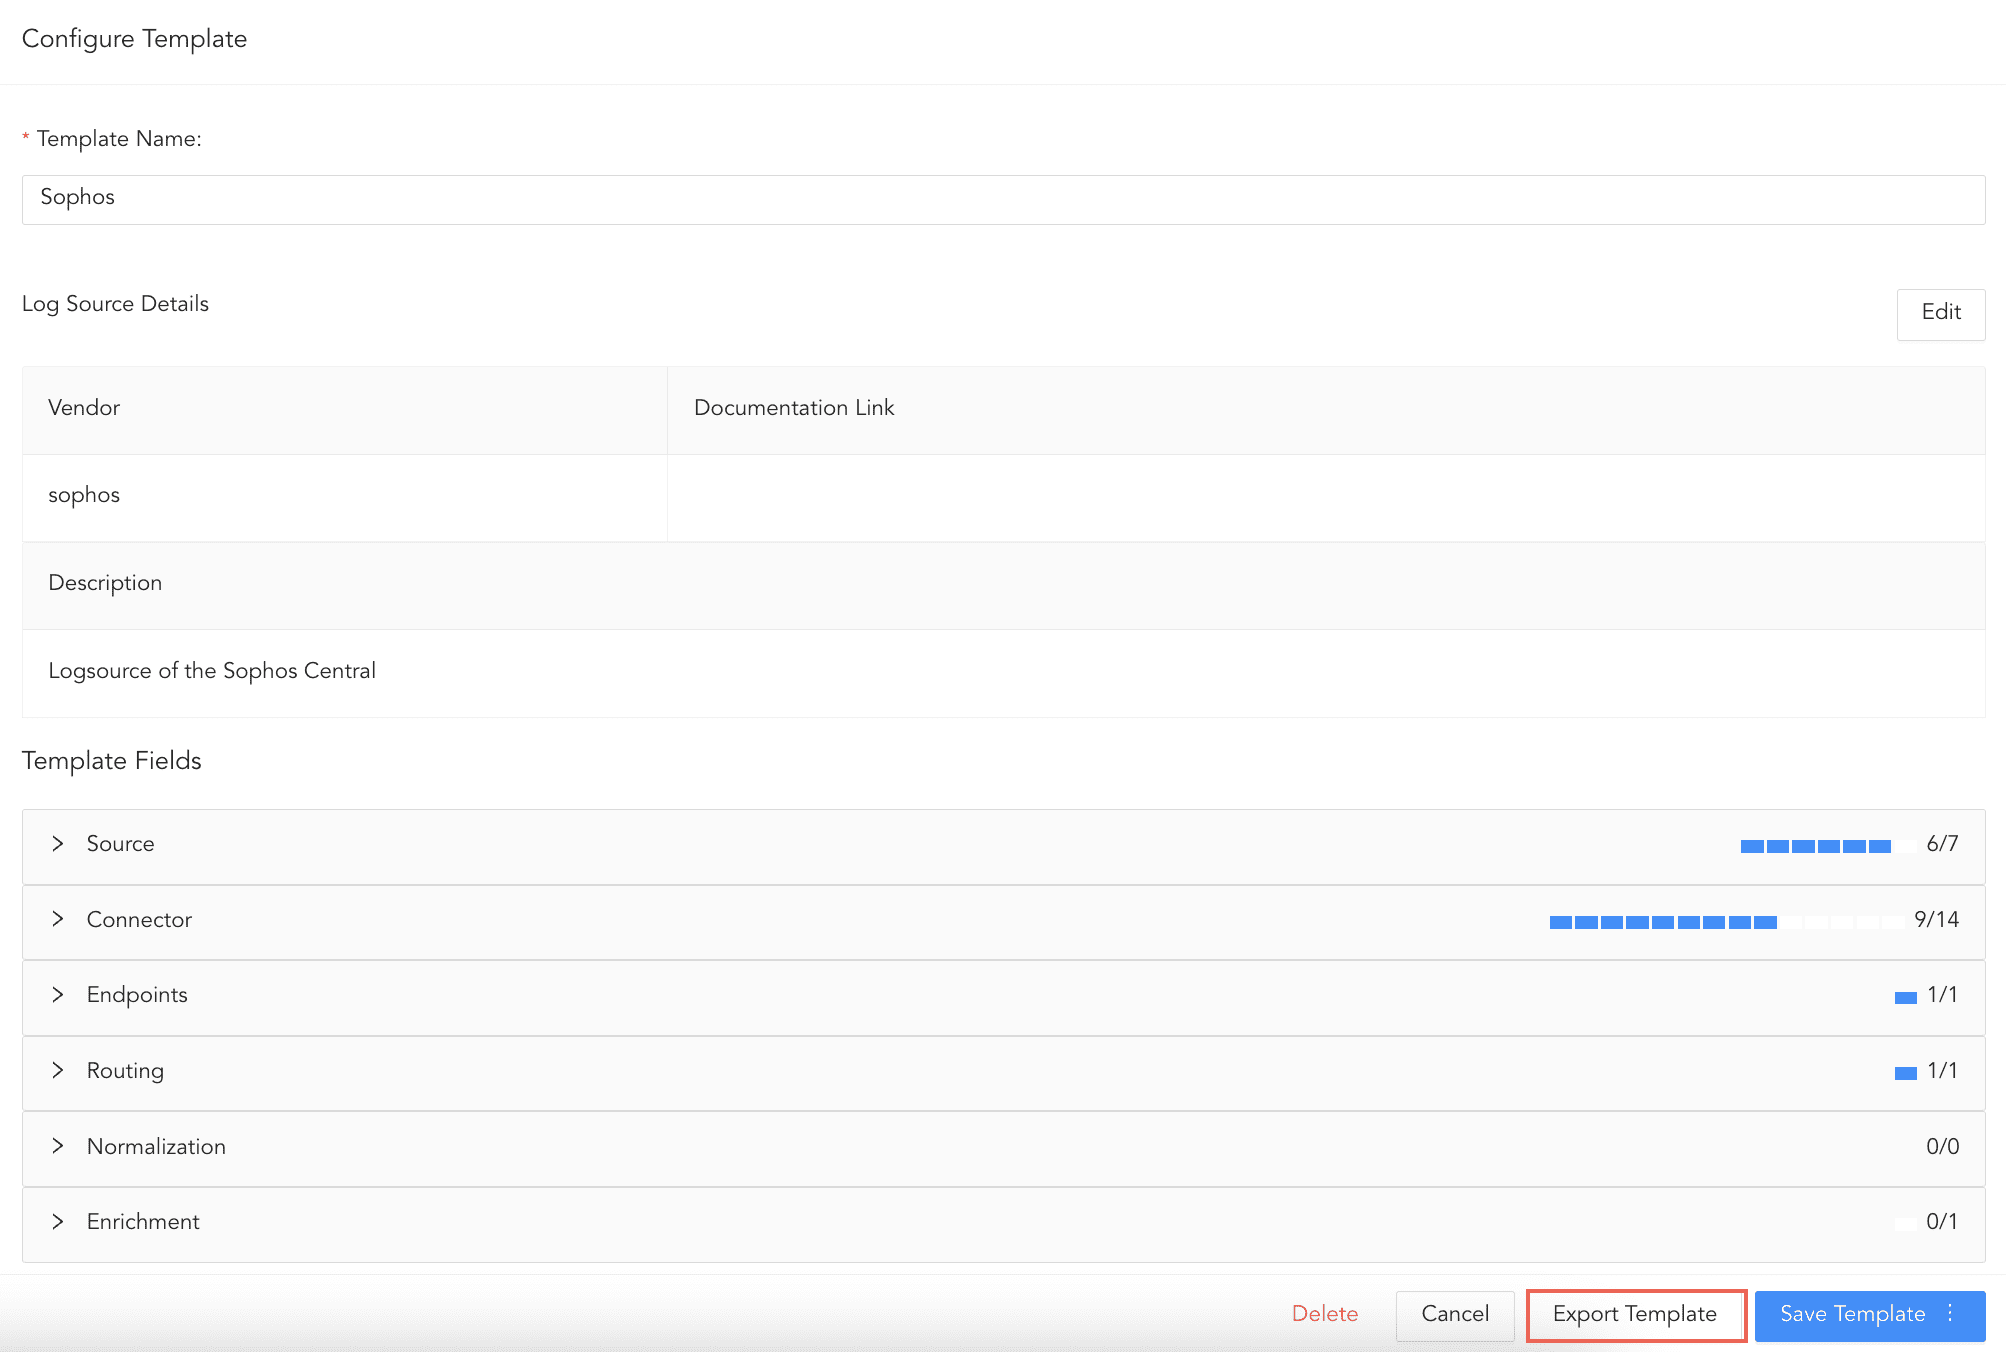
Exporting Templates
To import a Log Source template:
Go to Settings >> Log Sources from the navigation bar and click Browse Log Source Templates.
Click Import Templates.
Browse to the exported .pak file.
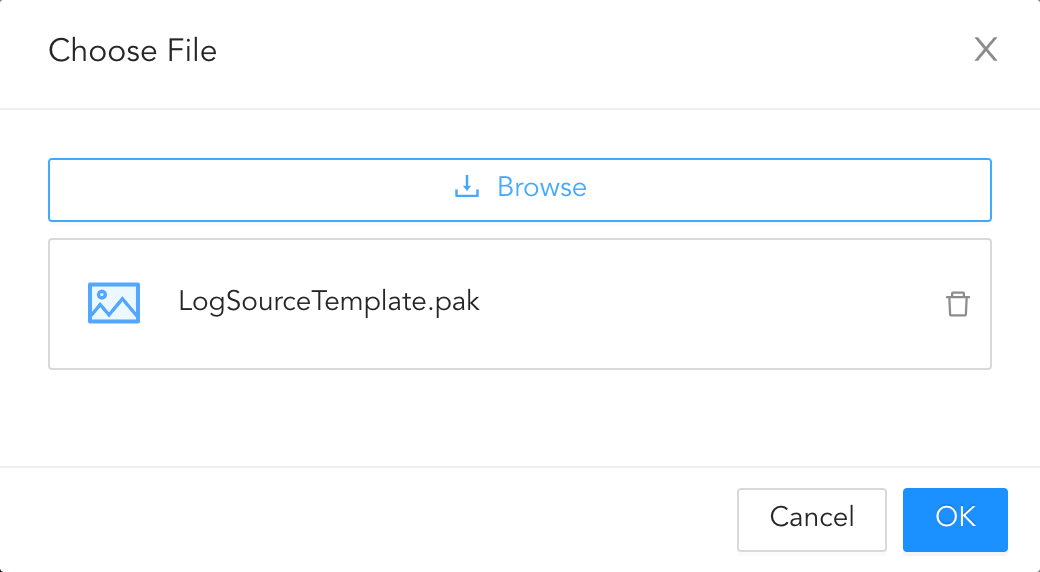
Importing a template.
Click OK.
Go to Settings >> Log Sources to find the imported template. If a template with the same name as the imported template exists, you must change it. In Choose new names, enter a new name for the template and click OK.
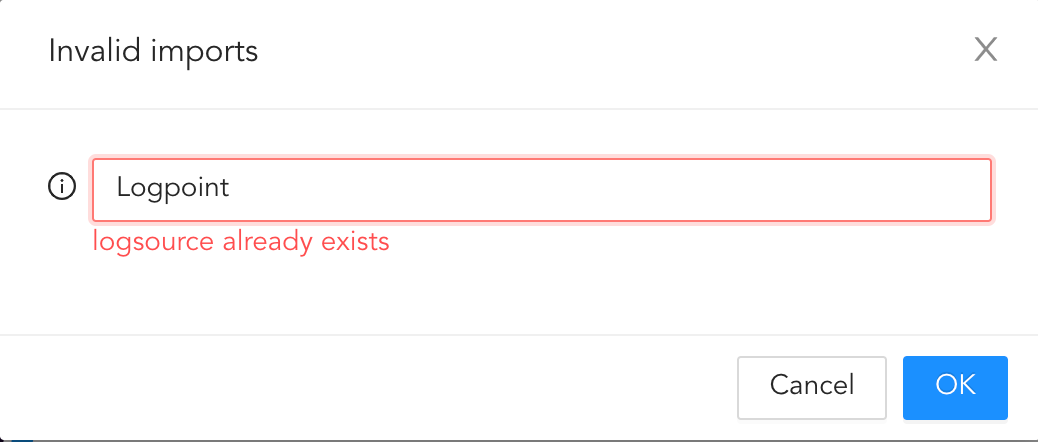
Invalid Imports
If you create a Log Source with an imported template consisting of a custom normalization package, the package is automatically created in your Logpoint. In the case of name conflict, the suffix “_1” is added to the custom package.
In the case of vendor normalization packages, if your Logpoint has the same or a newer version of the vendor normalization package, the new version is automatically selected. If your Logpoint has the older version or does not have the required package, you must download and install the latest package from the Service Desk.
To delete Log Source template:
Go to Settings >> Log Sources from the navigation bar and click Browse Log Source Templates.
Click the () icon for the Log Source and click Delete Template.
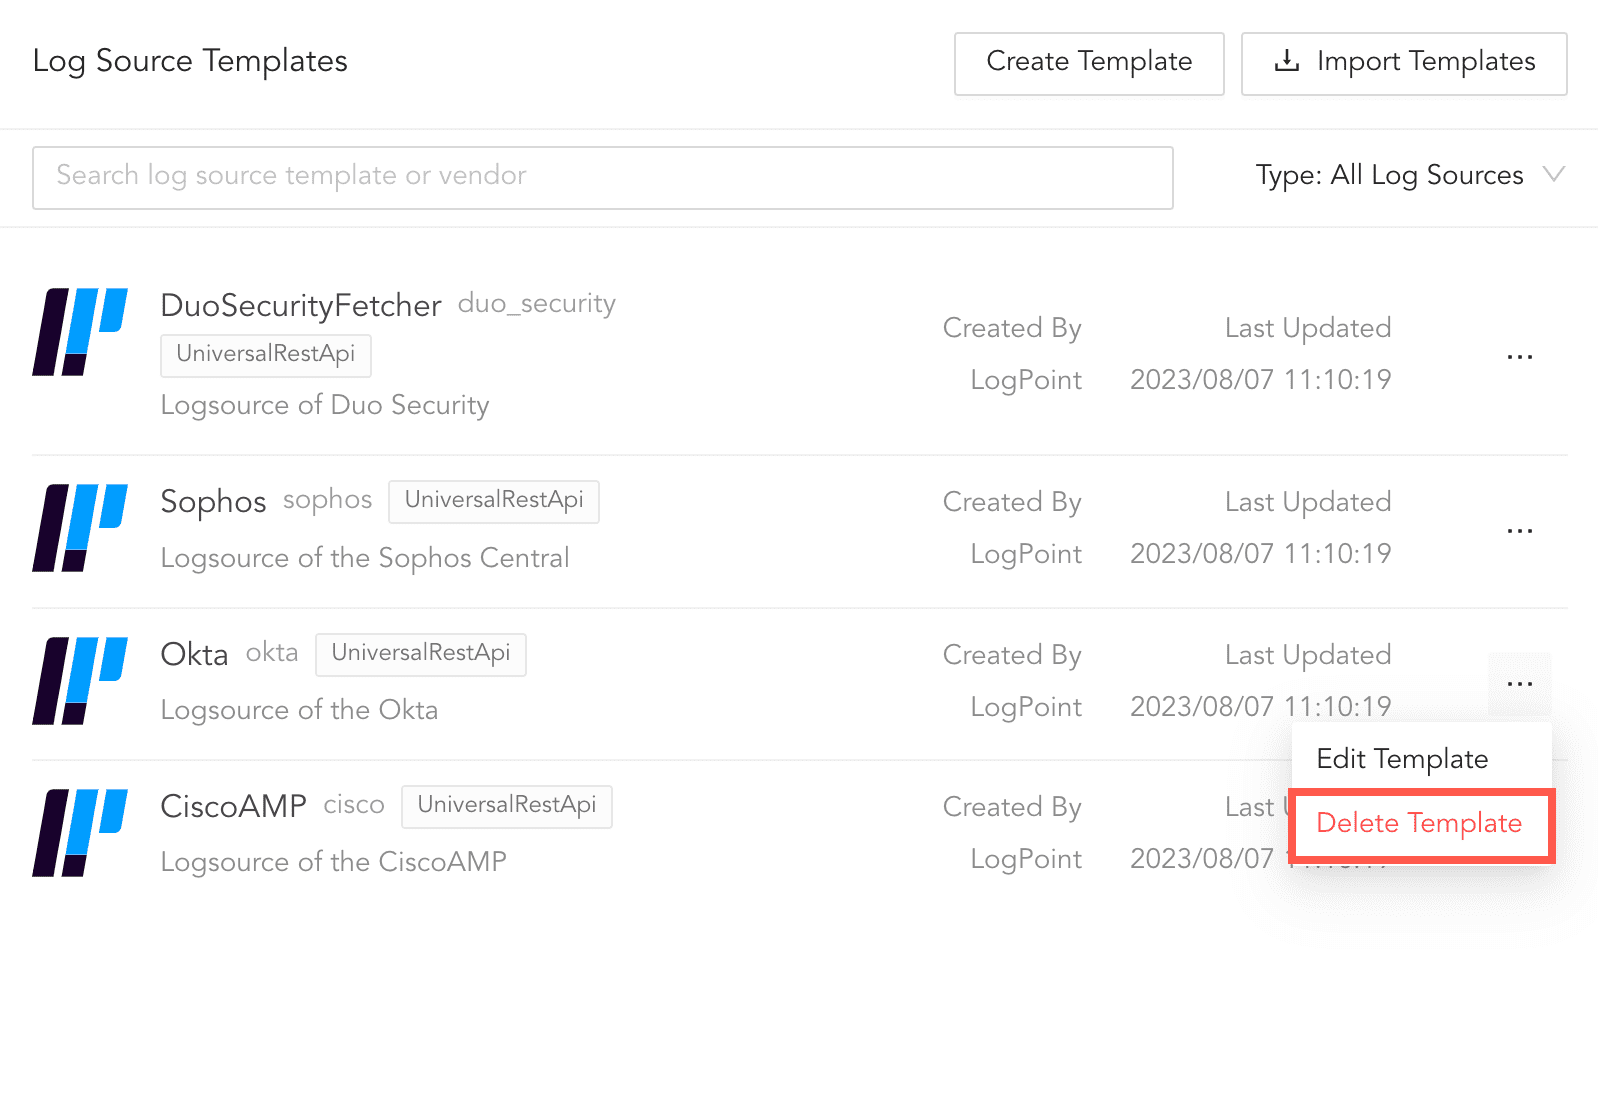
Deleting Template
Click Delete.